Quality can be a beast that you feel daunted to tame, but it can also be straightforward to start and slowly expand over time. It doesn’t have to be overwhelming, complicated or capital intensive. Read on to understand 8 quality management hacks.
In general, there are two parts to quality management, Quality Assurance (QA) and Quality Control (QC). Quality Assurance is all about the actions which are taken to design and manufacture a safe and effective product by building quality controls into the product life cycle. Quality Control is a test procedure to verify that a product is safe and effective after manufacturing is done.
For brewers who are starting out on a limited budget, where should they focus their attention? What methods are simple, low cost and easy to implement? Read on to understand what the 8 quality management hacks are and how they can be applied.
1. Beer Release Sheet
A simple sheet that is used to release a beer before packaging. This helps ensure multiple people are tasting a batch of beer before the package is released.
A release sheet should ideally contain the specifications of the beer, and this can be as simple as the ABV, gravity, etc. Traditionally, it will hold the chill back (fermenter specifications) analytical results and results after filtration. This is then finalized with a post packaging result.
The release sheet provides a simple record to refer back to at a later date. It doesn’t just have to be brewers tasting –– it can be sales staff, accountants, peers or partners. The idea is that the more people that taste it, the more likely a fault in the product will be picked up. For example, people can be blind to tasting certain flavor compounds, e.g. diacetyl. If that person is the only one tasting, the beer could be packaged with that fault.
Cost: $0
[caption id="attachment_22771" align="aligncenter" width="1000"]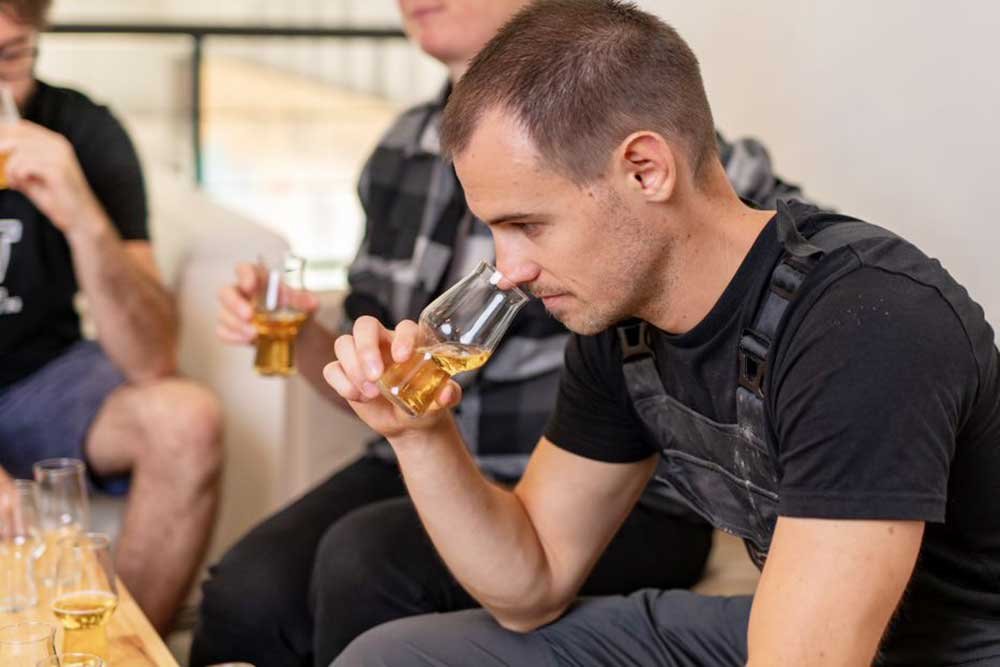 Beer tasting[/caption]
Why Taste Before Packaging?
- Quality
- Crop year changes
- Fermentation inconsistency
- Abnormalities that go unchecked
- Consistency
- Seasonal variation
- Recipe changes
- Cost (On average, it is +30% more expensive to dump after a beer has been packaged.)
- Prevent recalls or distributor out of stocks
- Peace of mind (You can be confident the beer is true to brand before it is packaged)

2. Measure Your CO2
Carbonation is pivotal to the flavour and enjoyment of beer. It is easy to get right and measure, but is still a common mistake. Relying on tasting or tank pressure is not an adequate measure of carbonation.
[caption id="attachment_22773" align="aligncenter" width="1000"] Carbonation in beer[/caption]
Incorrect carbonation leads to beer that is foamy, bitey and hard to pour. In addition to this, beer may turn out to be flat and unpleasant with poor head retention.
Nothing upsets a publican more than over-carbonated kegs! Over-carbonated products in cans or bottles can be dangerous to the consumer.
Cost: Systems available to measure CO2 content range from $500 to $18,000. Entry-level systems would be the Taprite or Zahm & Nagel, moving up the scale would be Haffmans or Anton Paar.
3. Keep A QC Archive of Products
Keep samples for each batch of packaged product to evaluate its shelf life. This can be used to review and respond to any complaints that come up in trade.
These samples should be kept outside the coolroom and can be used as retention samples for tasting and to understand your shelf life. Does your beer really taste fresh after 12 months?
Most beers can be expected to keep their good flavor for about three months when kept at room temperature. Oxygen ingress is a key factor in how a beer ages. A forced age test can be conducted by storing samples in an incubator for evaluation.
Generally, the effect of temperature on the chemical reaction rate may be represented by the Arrhenius equation:
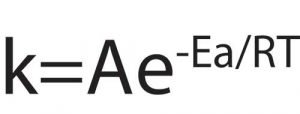
where k is the rate constant; A is the pre‐exponential factor assumed to be of temperature; Ea is activation energy; R is the gas constant; and T is the temperature in Kelvin.
4. Test Wort Sterility
If your wort isn’t clean, your finished product is compromised from the start. A simple, cheap and effective approach is to carry out a wort sterility test. This dips your toe into microbiology as well! Take a wort sample after the heat exchanger. Place the same in a plastic container and put it somewhere warm, such as next to a hot liquor tank. If you get haze or fermentation, something is fermenting the wort before you have added your yeast.
Cost: The cost of sterile plastic containers or you can autoclave swing top bottles for reuse.
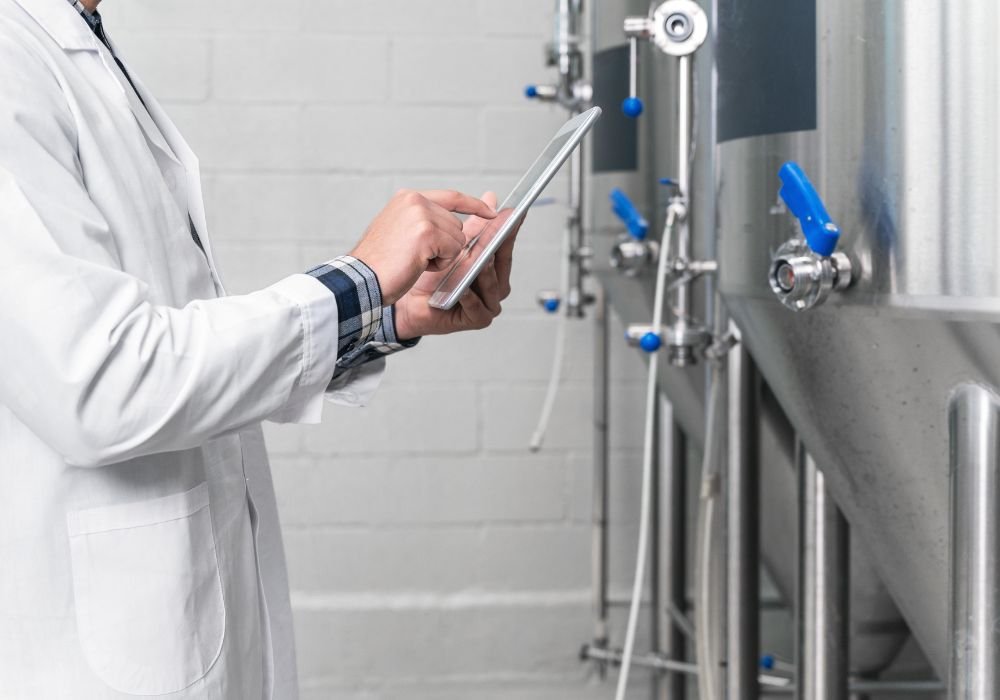
5. Document Processes in the Brewery
Quality assurance can be straightforward if all brewers do the job the same. Start by creating standard operating procedures (SOPs) where you list the process actions with pictures.
[caption id="attachment_22775" align="aligncenter" width="1000"] Labelling a sample[/caption]
Then, simplify these processes into work instructions, which are the shortened steps of the SOP. Start labour for the initial documentation.
Cost: $0
6. Perform Limit Attenuation Tests
The limit attenuation test is essentially a forced ferment. It rapidly ferments a wort sample to its attenuation limit. Excess yeast, oxygen and temperature are employed to rapidly complete a ferment, allowing the brewer to determine the likely endpoint of a ferment proceeding normally in the tank.
Many problems occur with packaged products these days as more fruits and combinations are used. The dry-hop phenomenon research that is currently going on is shedding light on how multiple hop interactions can change attenuation.
[caption id="attachment_22776" align="aligncenter" width="1000"]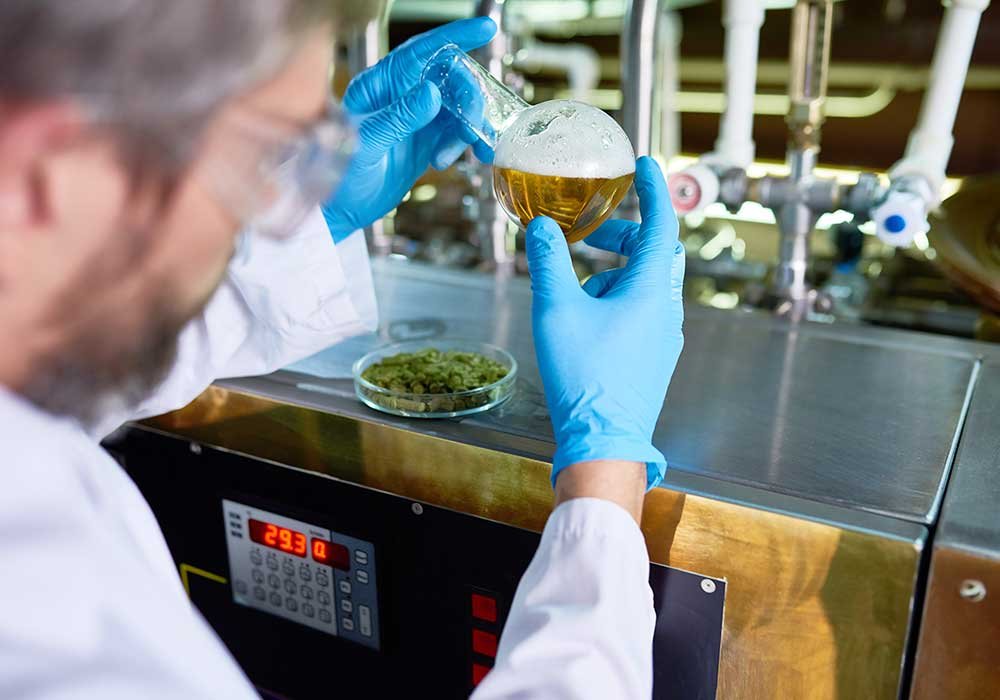 Wort attenuation test[/caption]
You should have a forced ferment prepared 24 hours after pitching yeast, then again if you add any fruit or dry hop to compare with the initial forced result and your final attenuation in the tank. Don’t rush a beer and package it too early.
Cost: You can use plastic containers placed somewhere warm or purchase a stir plate, magnetic stir bar and glassware for under $500.
7. Keep Brewhouse Records
Not only is it due diligence of process and recordkeeping required for governance, the data will help troubleshoot issues that arise through the process.
Scenario:
A core range beer is out of specification compared to the one brewed before it. This could result from something simple such as a power outage causing a mash step to be missed or the COA of the grain has changed. Without good quality records this will be hard to diagnose.
Cost: $0
8. Monitor & Track Fermentations
Track Gravity & pH
- Track your fermentation curves.
- Consistent fermentation = consistent core range of product.
- Make notes to taste the beer during the fermentation.
- Sniff the blow-off tubes, e.g. lots of sulphur can point to an unhappy fermentation.
[caption id="attachment_22777" align="aligncenter" width="500"] Fermentgraph[/caption]
We had an incident in the past where an assistant brewer tasted the beer and reported it to the senior brewer, then head brewer for quality, and we decided to dump the beer. It was very phenolic. For us, it was about tank turnaround time and quickness to rebrew. Three days later, we had the agar result that a wild yeast was in the beer.
Cost: Spreadsheet software can be free if using open source.
Quality management can be low cost if you think outside of the box. A lot of microbiology lab equipment or an incubator, for example, can cost thousands. Rupert from 10 Toes Brewery in Sunshine Coast, Australia, was inspired by one of my past talks. He built this simple, cheap and effective incubator. It consists of an insulated cooler box with a homebrew heat mat and a solenoid to cut in/out the power, which helps hold samples at 30 Celsius.
Below are forced fermentation samples in reusable reagent bottles. To ensure the samples are not compromised, the bottles require to be autoclaved before the next use. Whilst an autoclave can cost thousands of dollars, a pressure cooker on a steam setting for 21 minutes will be effective at sanitising borosilicate glass for use over and over again.
[caption id="attachment_22778" align="aligncenter" width="1000"] Incubators[/caption]
Essential Lab Equipment
- pH meter (pH probe for acids)
- Microscope (40x and 100x)
- Crimp gauge and torque meter for bottling
- Seam checks for cans
- Autoclave or pressure cooker
- Magnetic stir plate
- Erlenmeyer’s (forced ferments)
- Reagent bottles (borosilicate)
- Hydrometer (with certificate of calibration)
- Scales 0.01g
- ATP meter
- Thermometer
- Incubator
- Haemocytometer bright field type with correct cover slip
- Microscope slides and coverslips and immersion oil
- CO2 meter
- DO meter
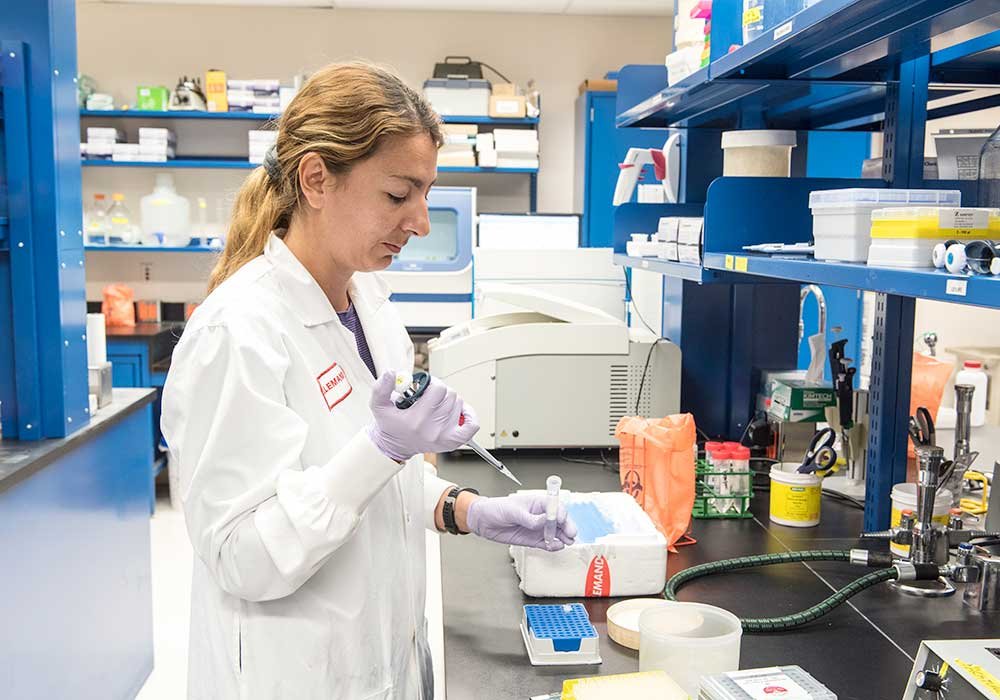
[caption id="attachment_22779" align="aligncenter" width="1000"] Analyzing lab samples[/caption]
Checkout Lallemand's other informative article on producing quality dried brewing yeast here.
About The Author
Daniel McCulloch
Technical manager, Asia Pacific, Lallemand Brewing
 Daniel supports hundreds of breweries in the region in his current role. He served as head of quality for Young Henry’s Brewery in Sydney, Australia, where he set up QA and QC that many breweries view as the standard for craft and medium-sized operations.
In addition to on-the-job experience, Daniel studied at the Siebel Institute of Technology, including courses with White Labs in San Diego, U.S.A., and Versuchs-und Lehranstalt für Brauerei (VLB) in Berlin, Germany.
Daniel was the inaugural recipient of the Young Gun of the Industry award from the Independent Brewers Association. In his spare time, Daniel is a part-time teacher of microbrewing at the TAFE NSW Ultimo Campus in Sydney.